Setup WebServer Script
WebServer Scripts are lightweight server-side scripts that can receive commands and network events. They don't have to run 24/7 and work more like a serverless service.
See the different types of scripts here.
A WebServer Script always requires a Client Script to be connected to it. The Client Script is responsible for sending commands and network events to the WebServer Script.
Requirements
- Basic knowledge of JavaScript and Git
- Node.js (v16 or higher)
Obtain your Access Token
In order to connect your WebServer Script, you need to obtain your server's Access Token.
To obtain your server's Access Token, go to its Server Settings and click on the Access Token tab. Then click the Generate Access Token button to generate a new token and copy it.
Create WebServer Script
The following steps assume that you have already created a Client Script. If you haven't, please refer to the Setup Client Script guide.
Edit Client Script
In your src/client/script.js file, replace with the following code:
import {initEngine} from '@verza/sdk';

export default async function script(id: string) {
  const engine = await initEngine({
    id,
    webServer: new URL(import.meta.url).origin + '/server/script',
  });

  engine.network.emitToServer('onRequestWelcome');
}
Edit WebServer Script
Replace with the following code your src/server/script.js file, also replace the ACCESS_TOKEN with your server's access token:
import {initEngine} from '@verza/sdk';

export default async function script() {
  const engine = await initEngine({
    accessToken: 'ACCESS_TOKEN',
  });

  // add custom event
  engine.network.onPlayerEvent('onRequestWelcome', async () => {
    engine.localPlayer.sendMessage(`Message received! Welcome to the server!`);
  });
}
Add to Server
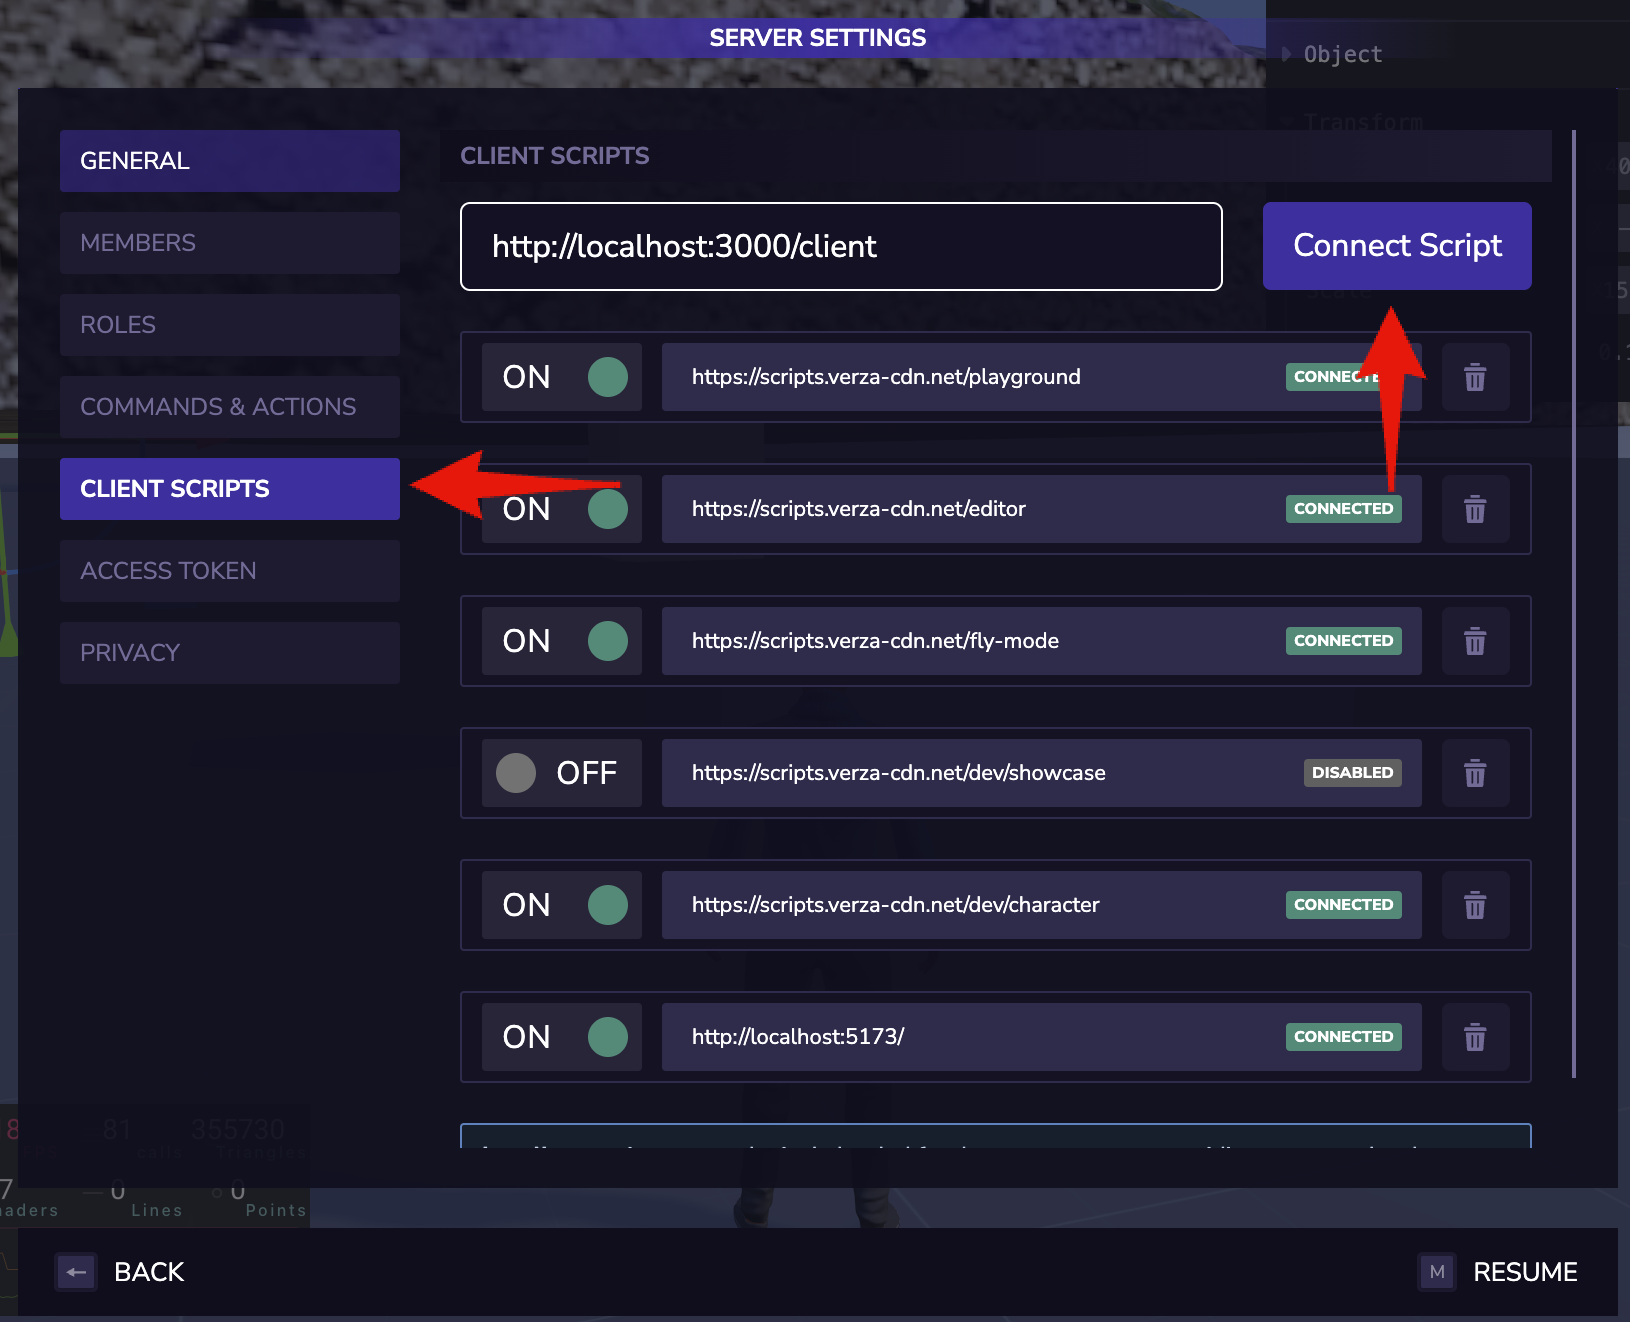
To add the Script to your server, go to the Scripts tab in your Server's Settings. Then, enter the URL of your script and click on Connect Script.
By default, the URL of your script in development mode is http://localhost:8085/script

Deploy
Refer to the Deploy guide.
Manual Build & Deploy (Advanced)
Refer to the Manually Build & Deploy (Advanced) guide.